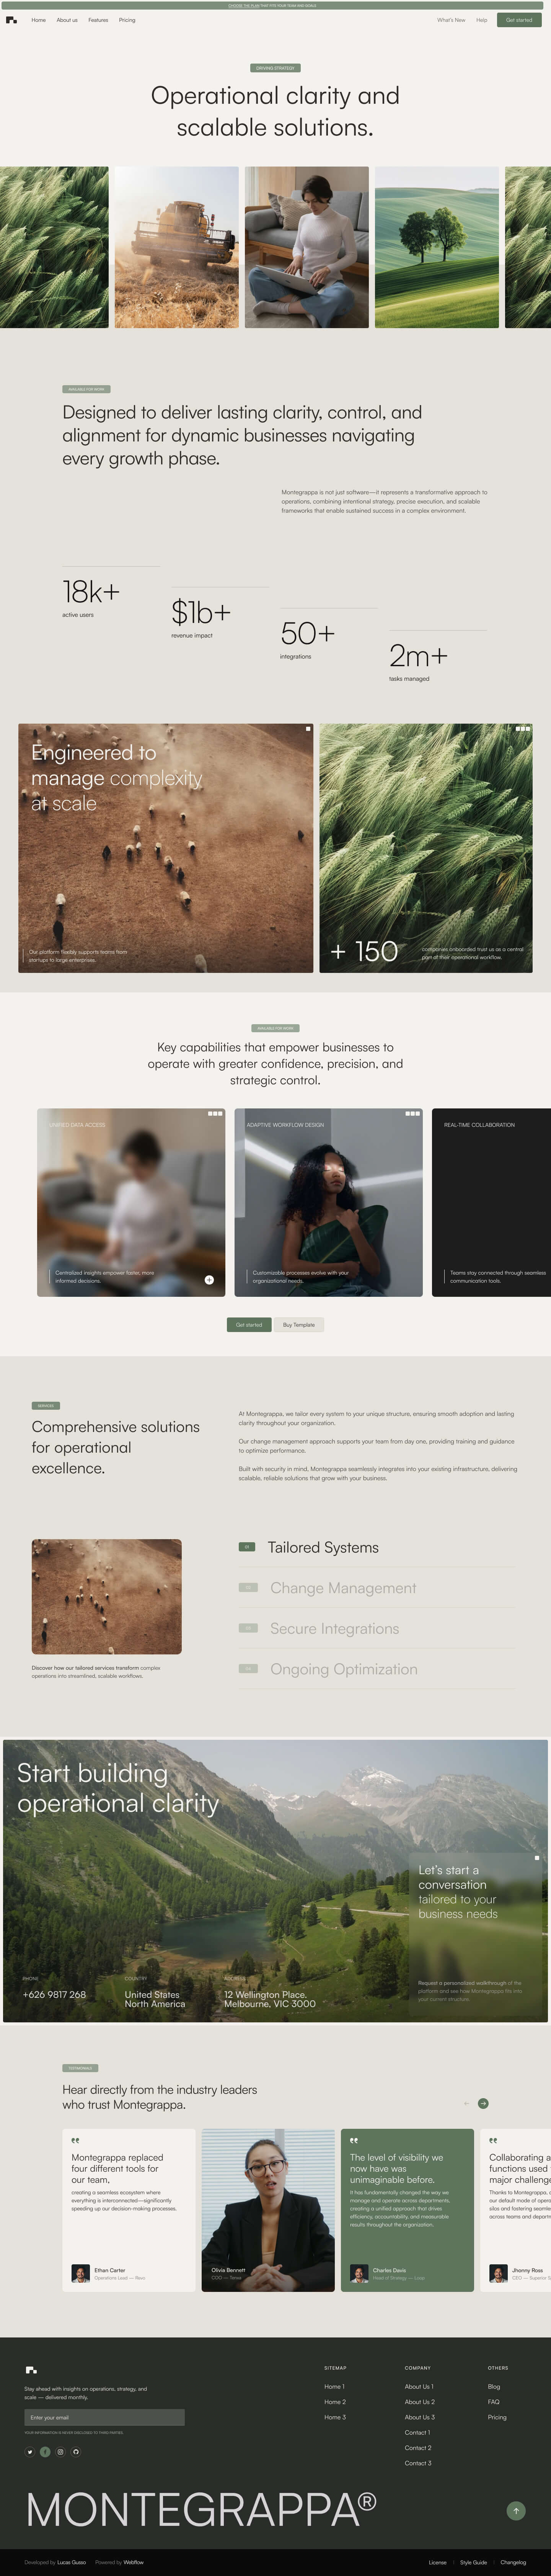
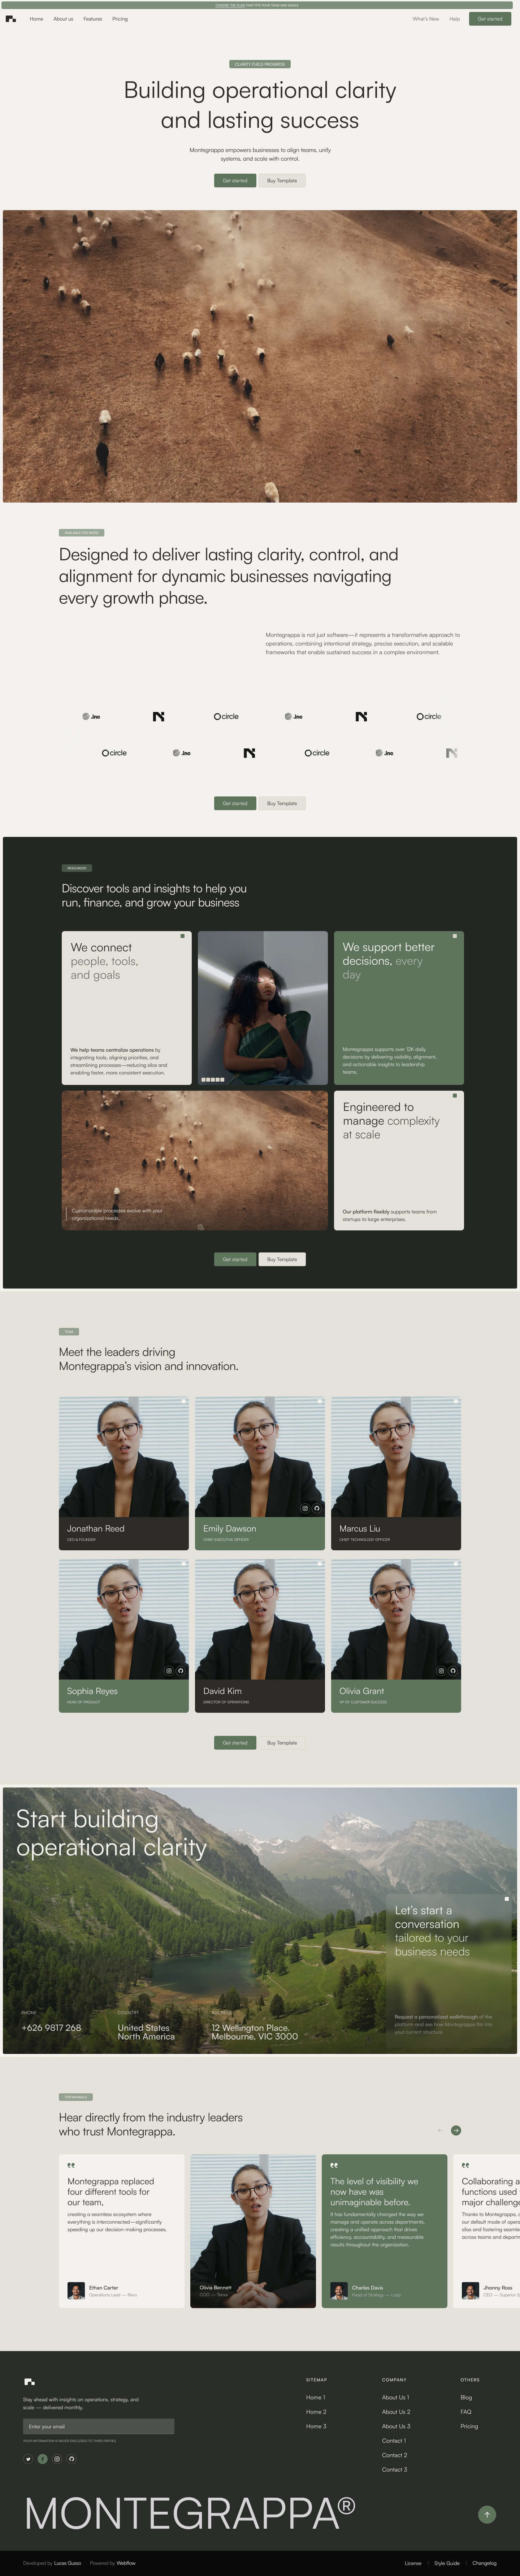
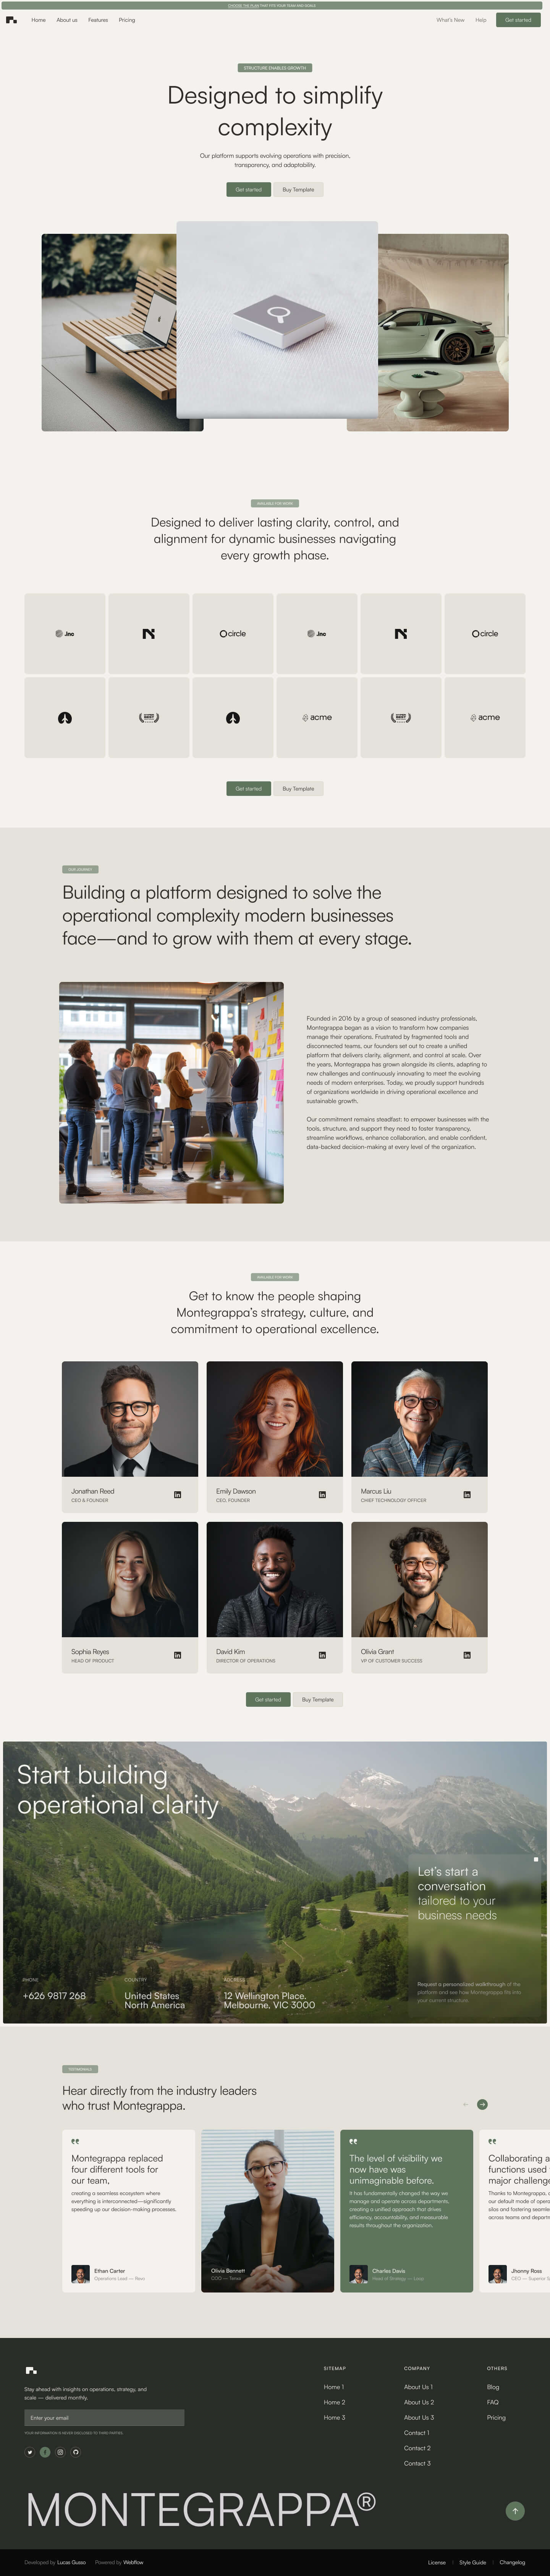
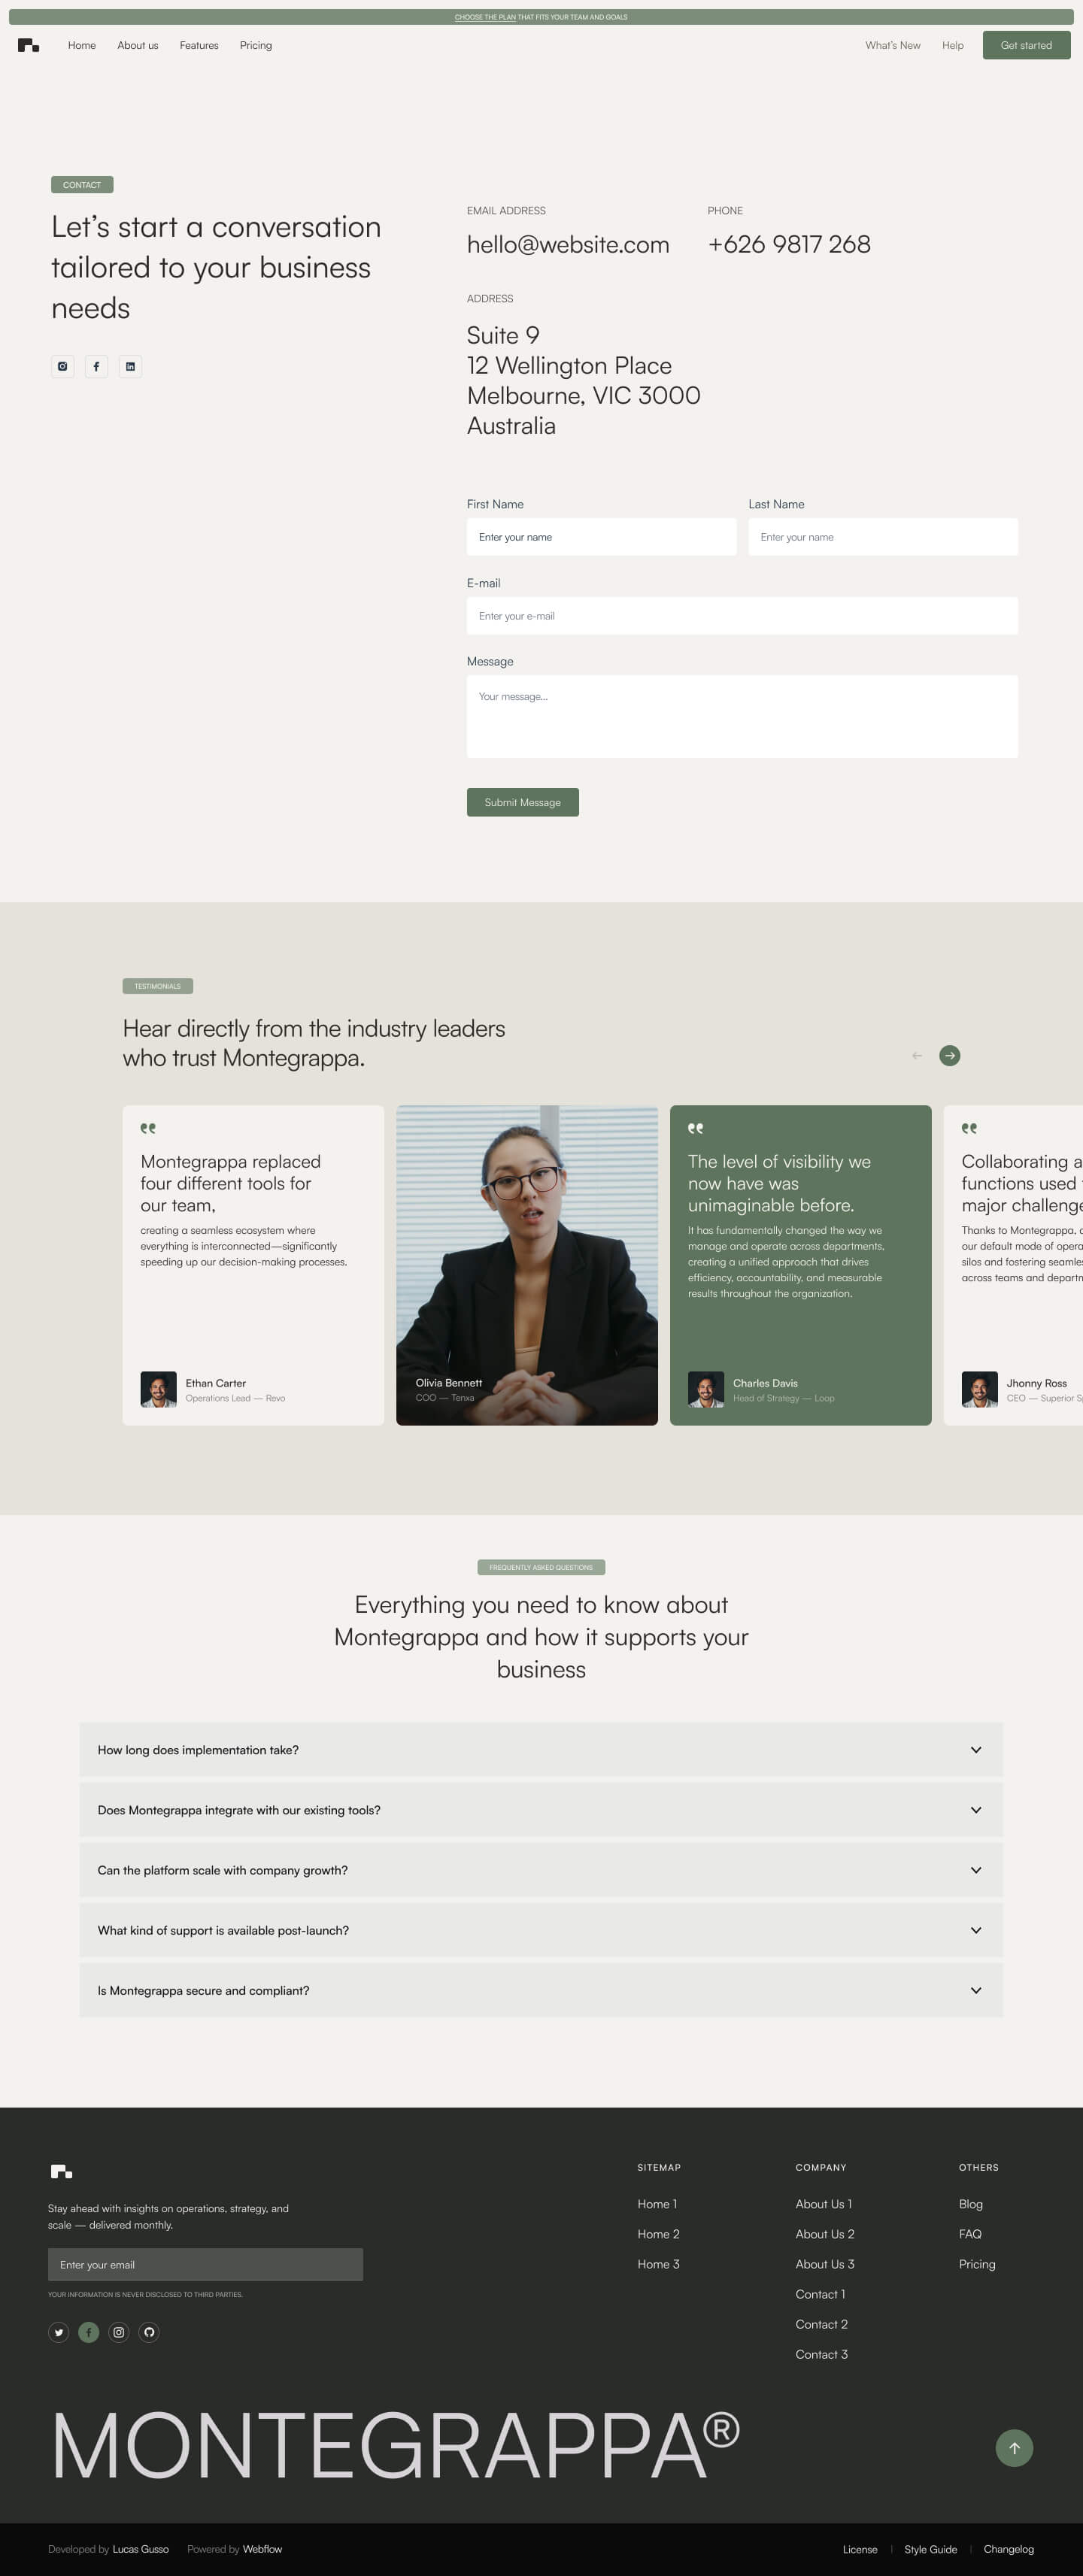
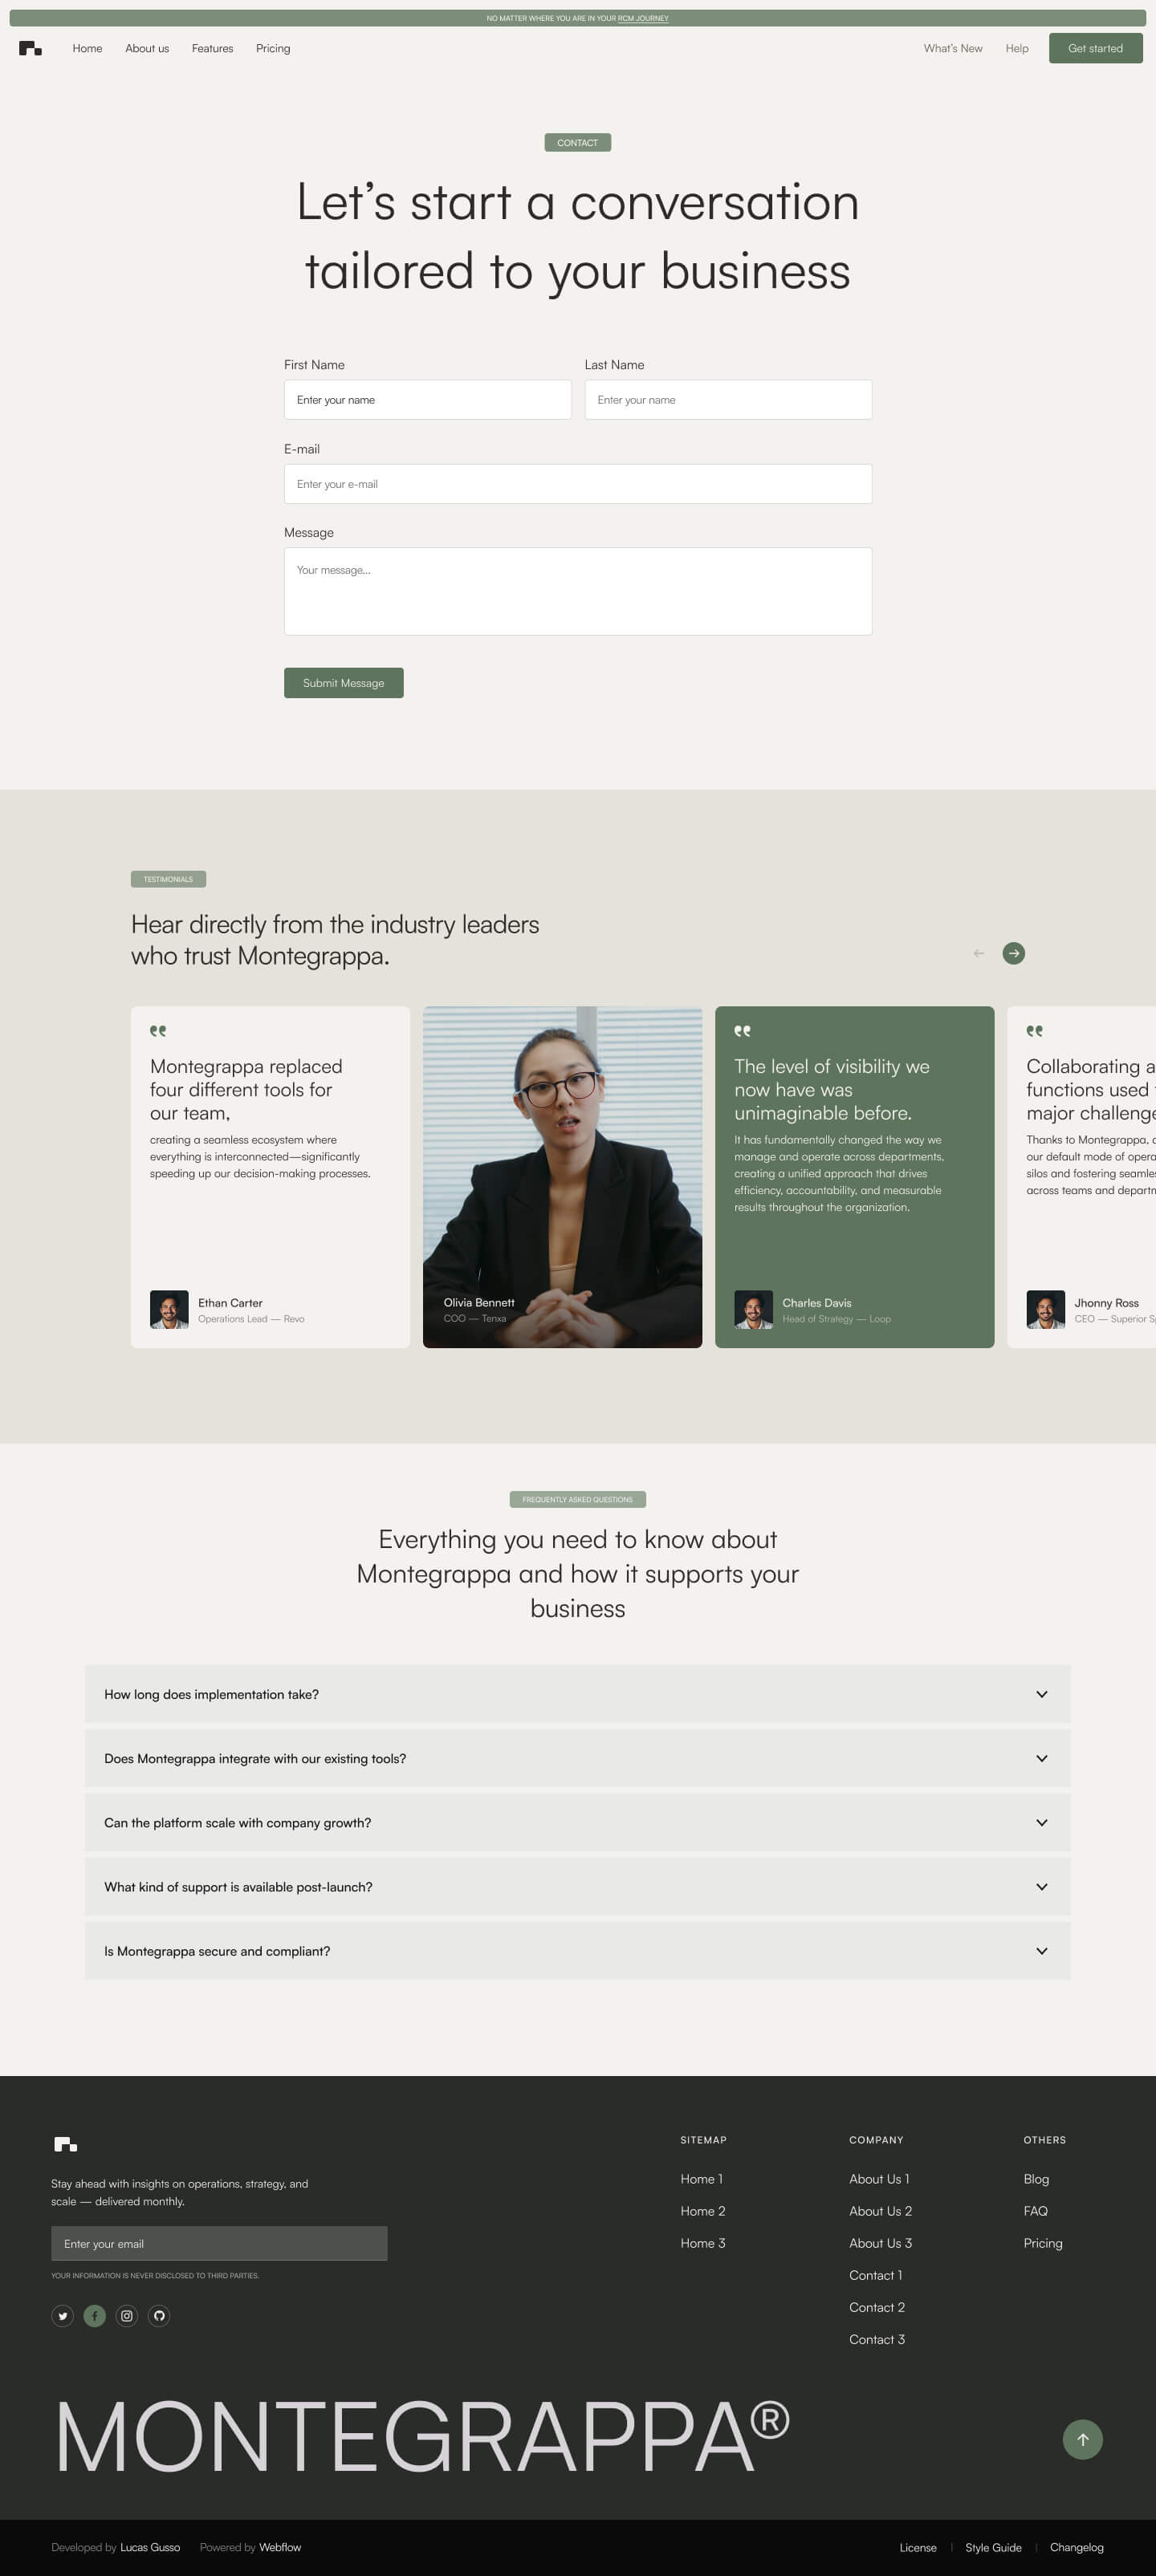
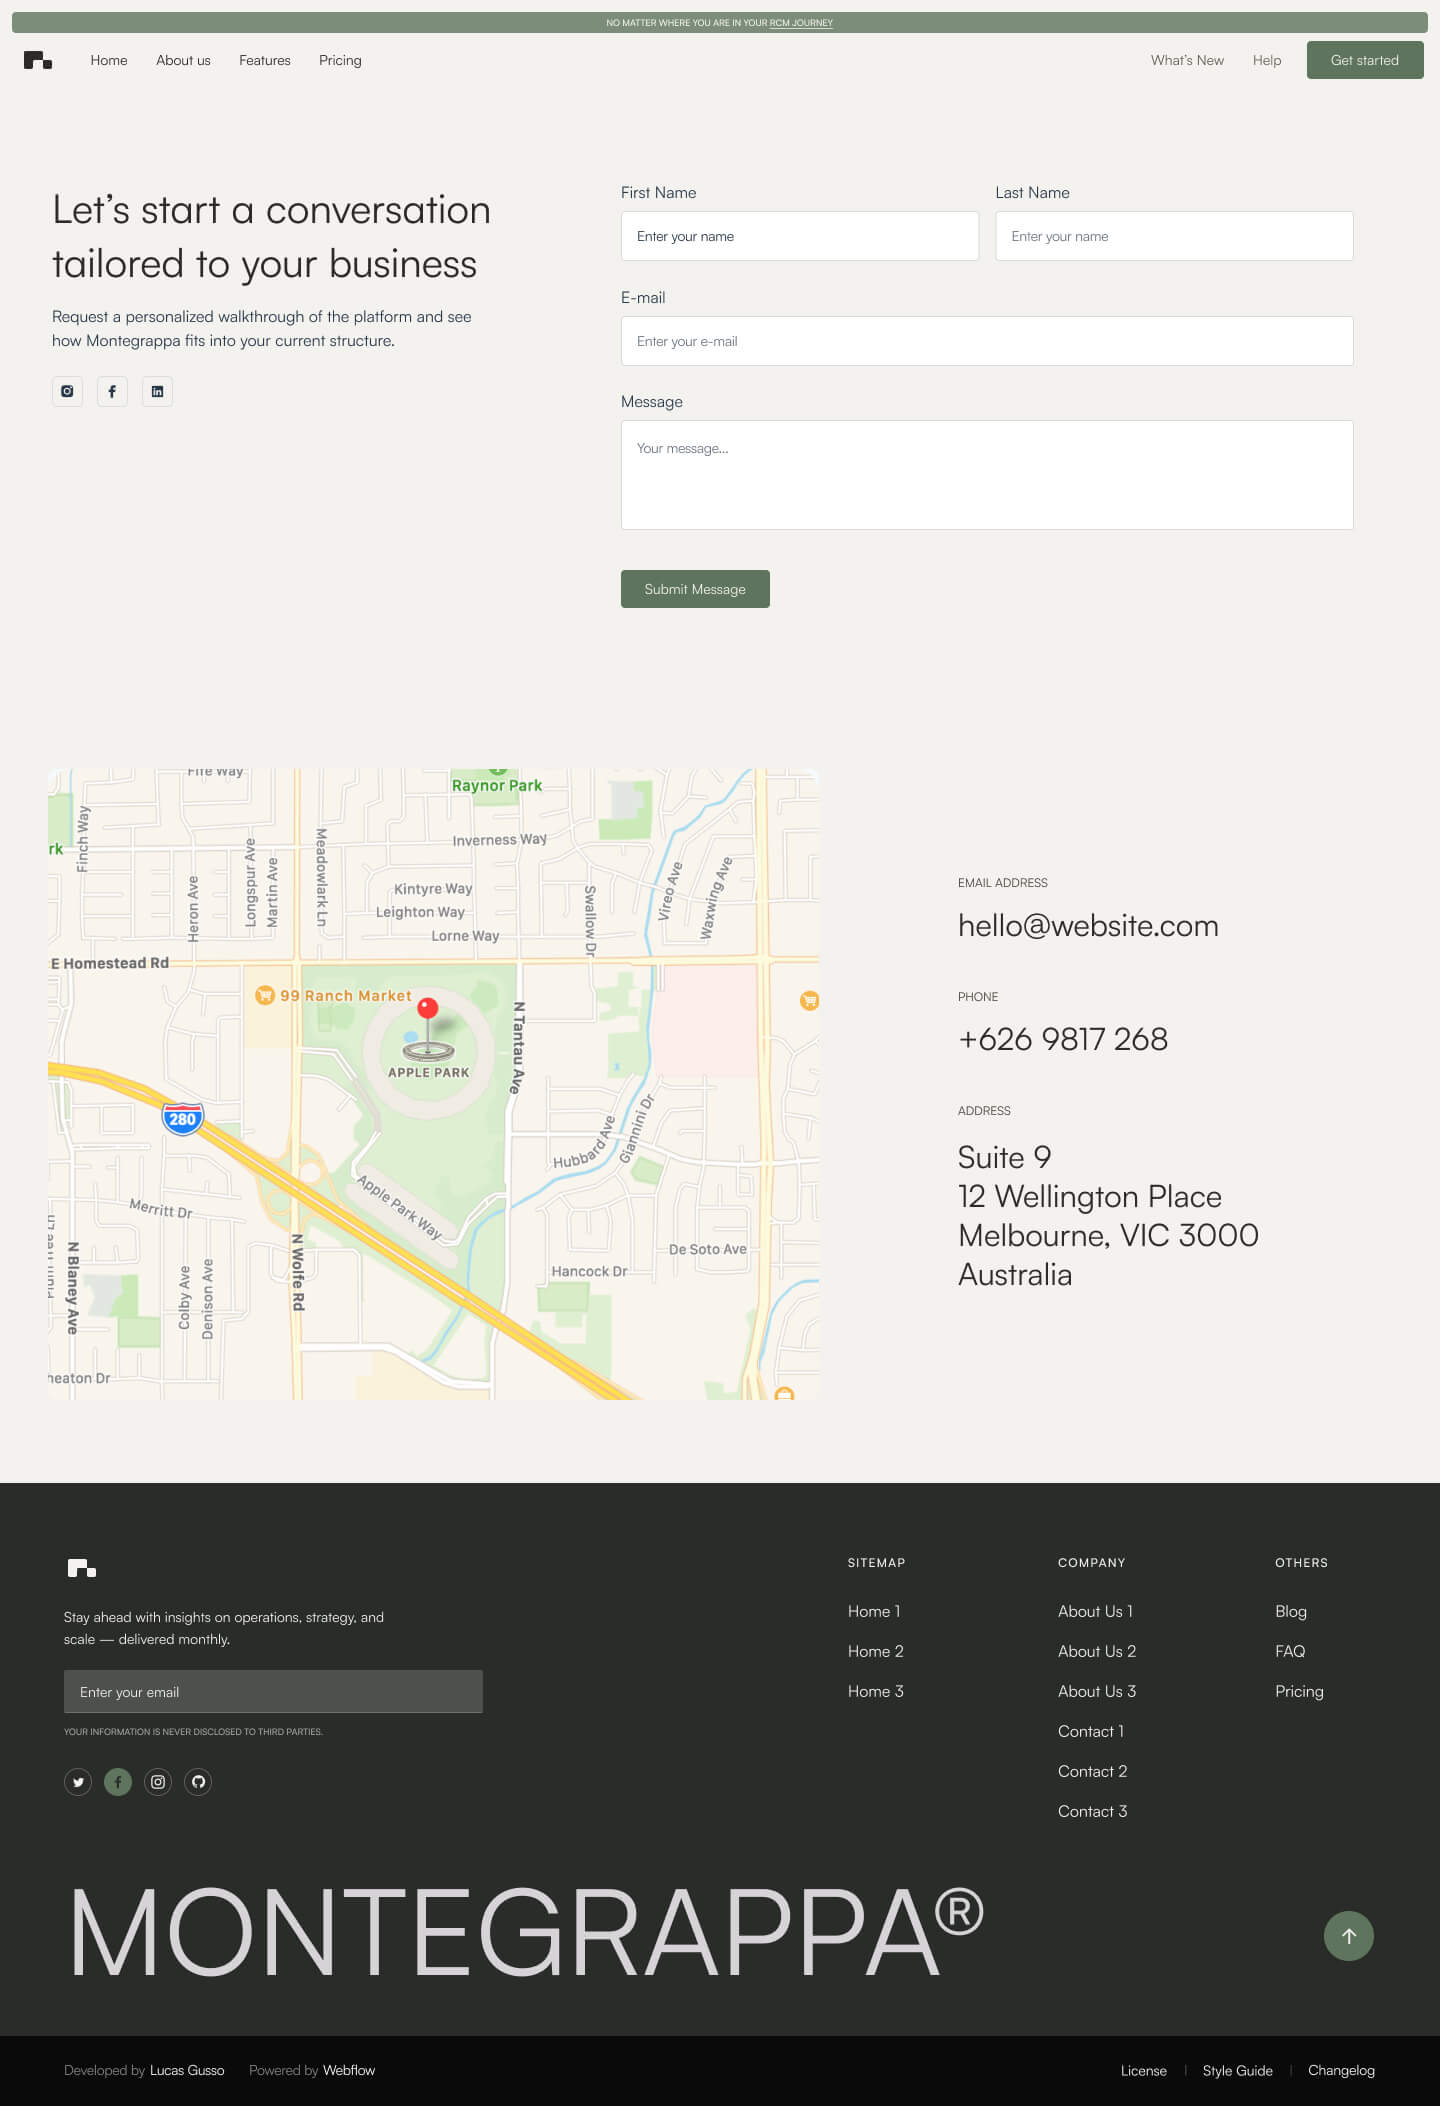
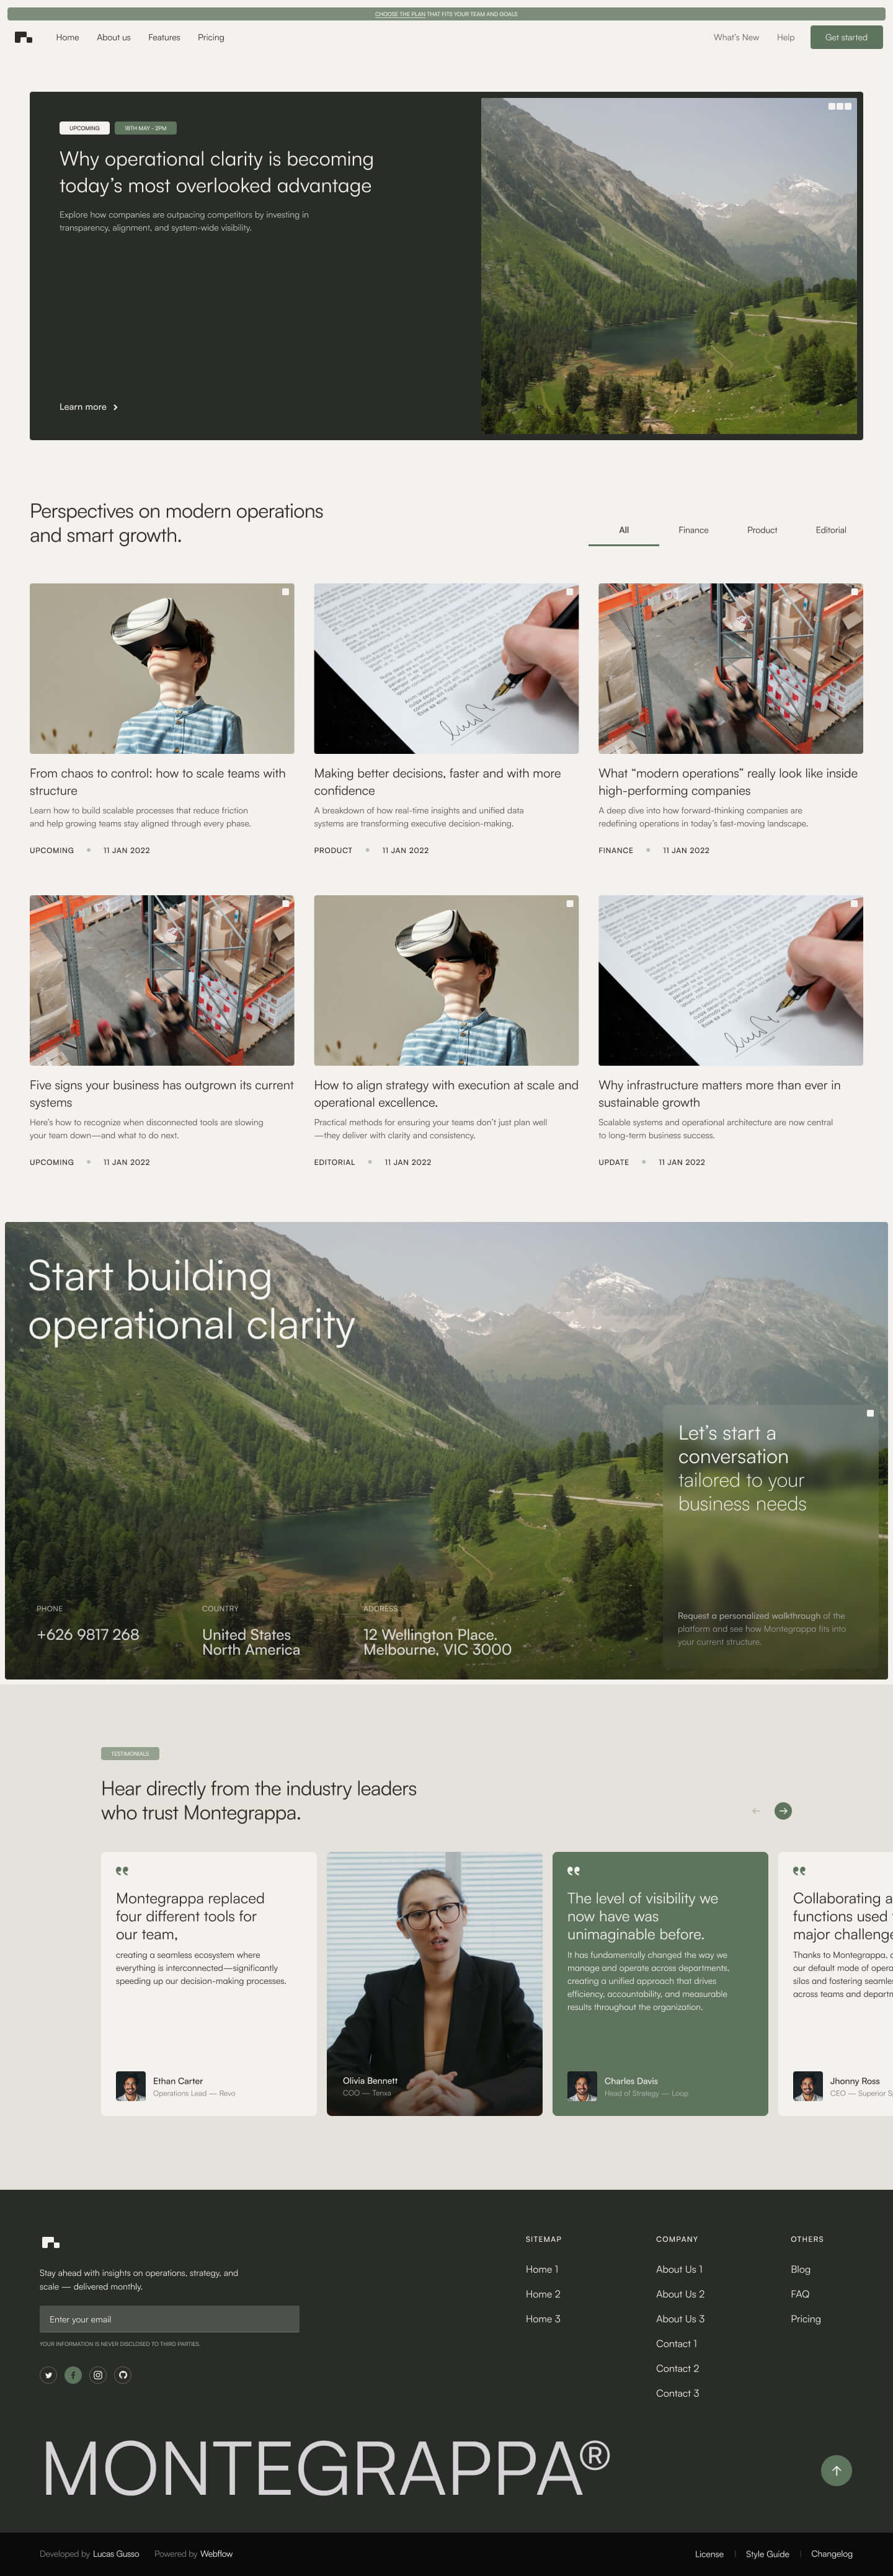
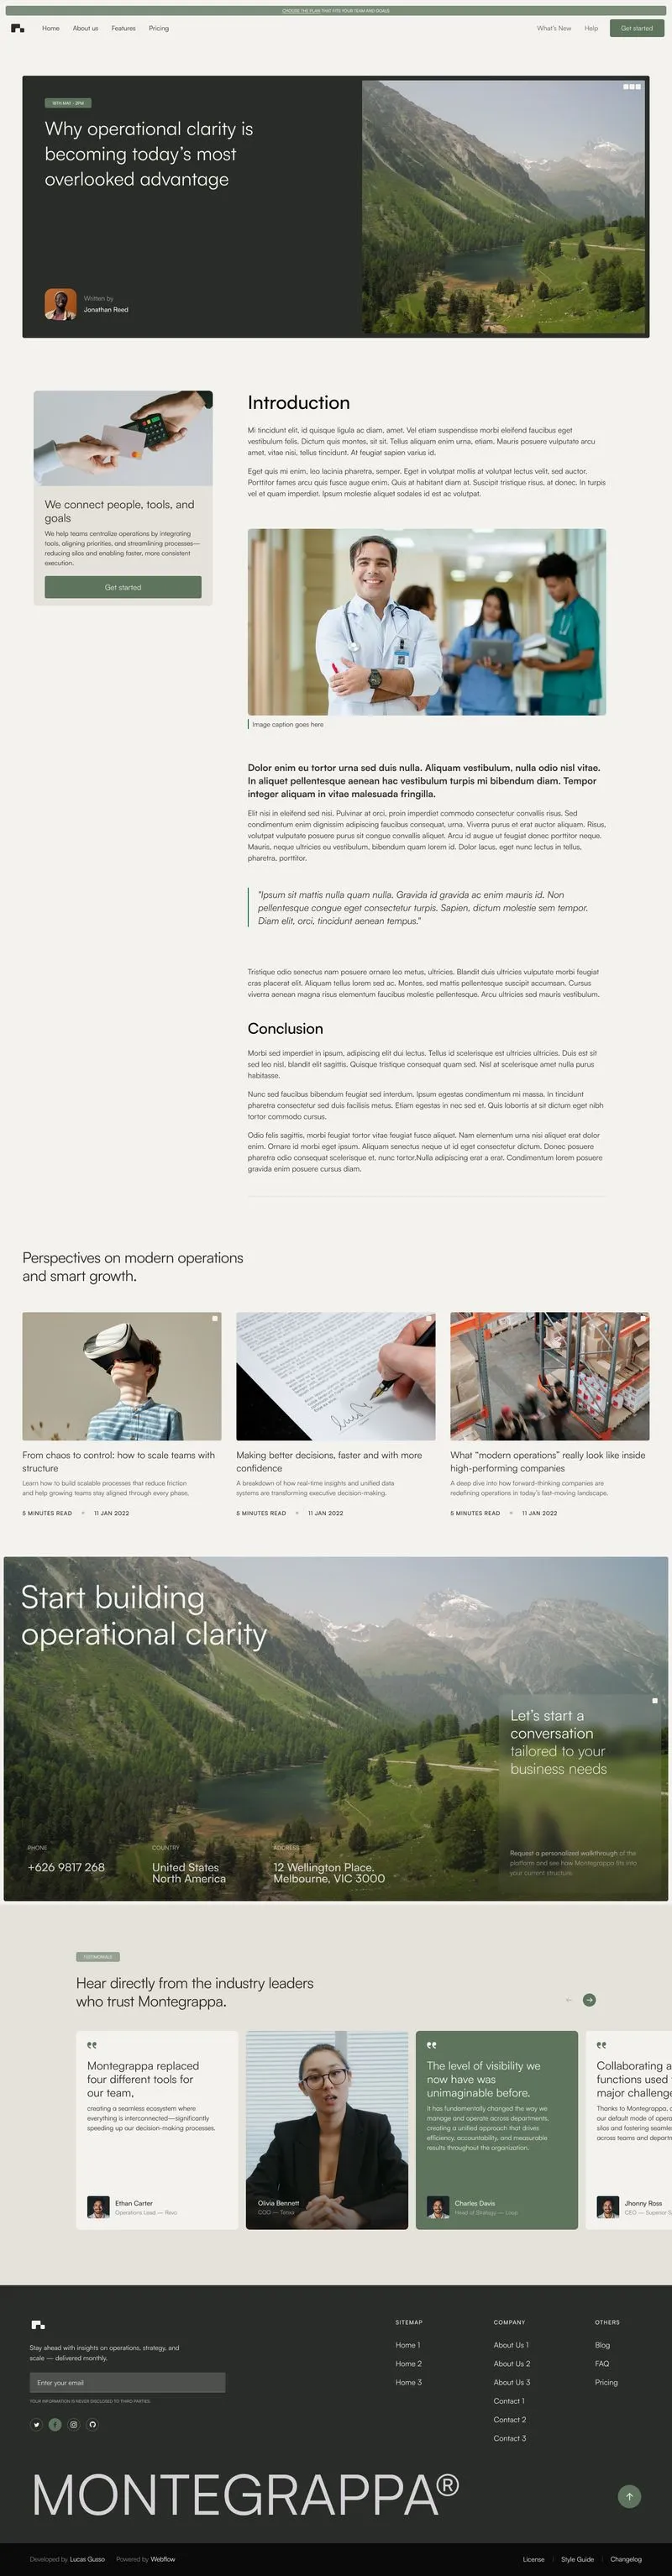
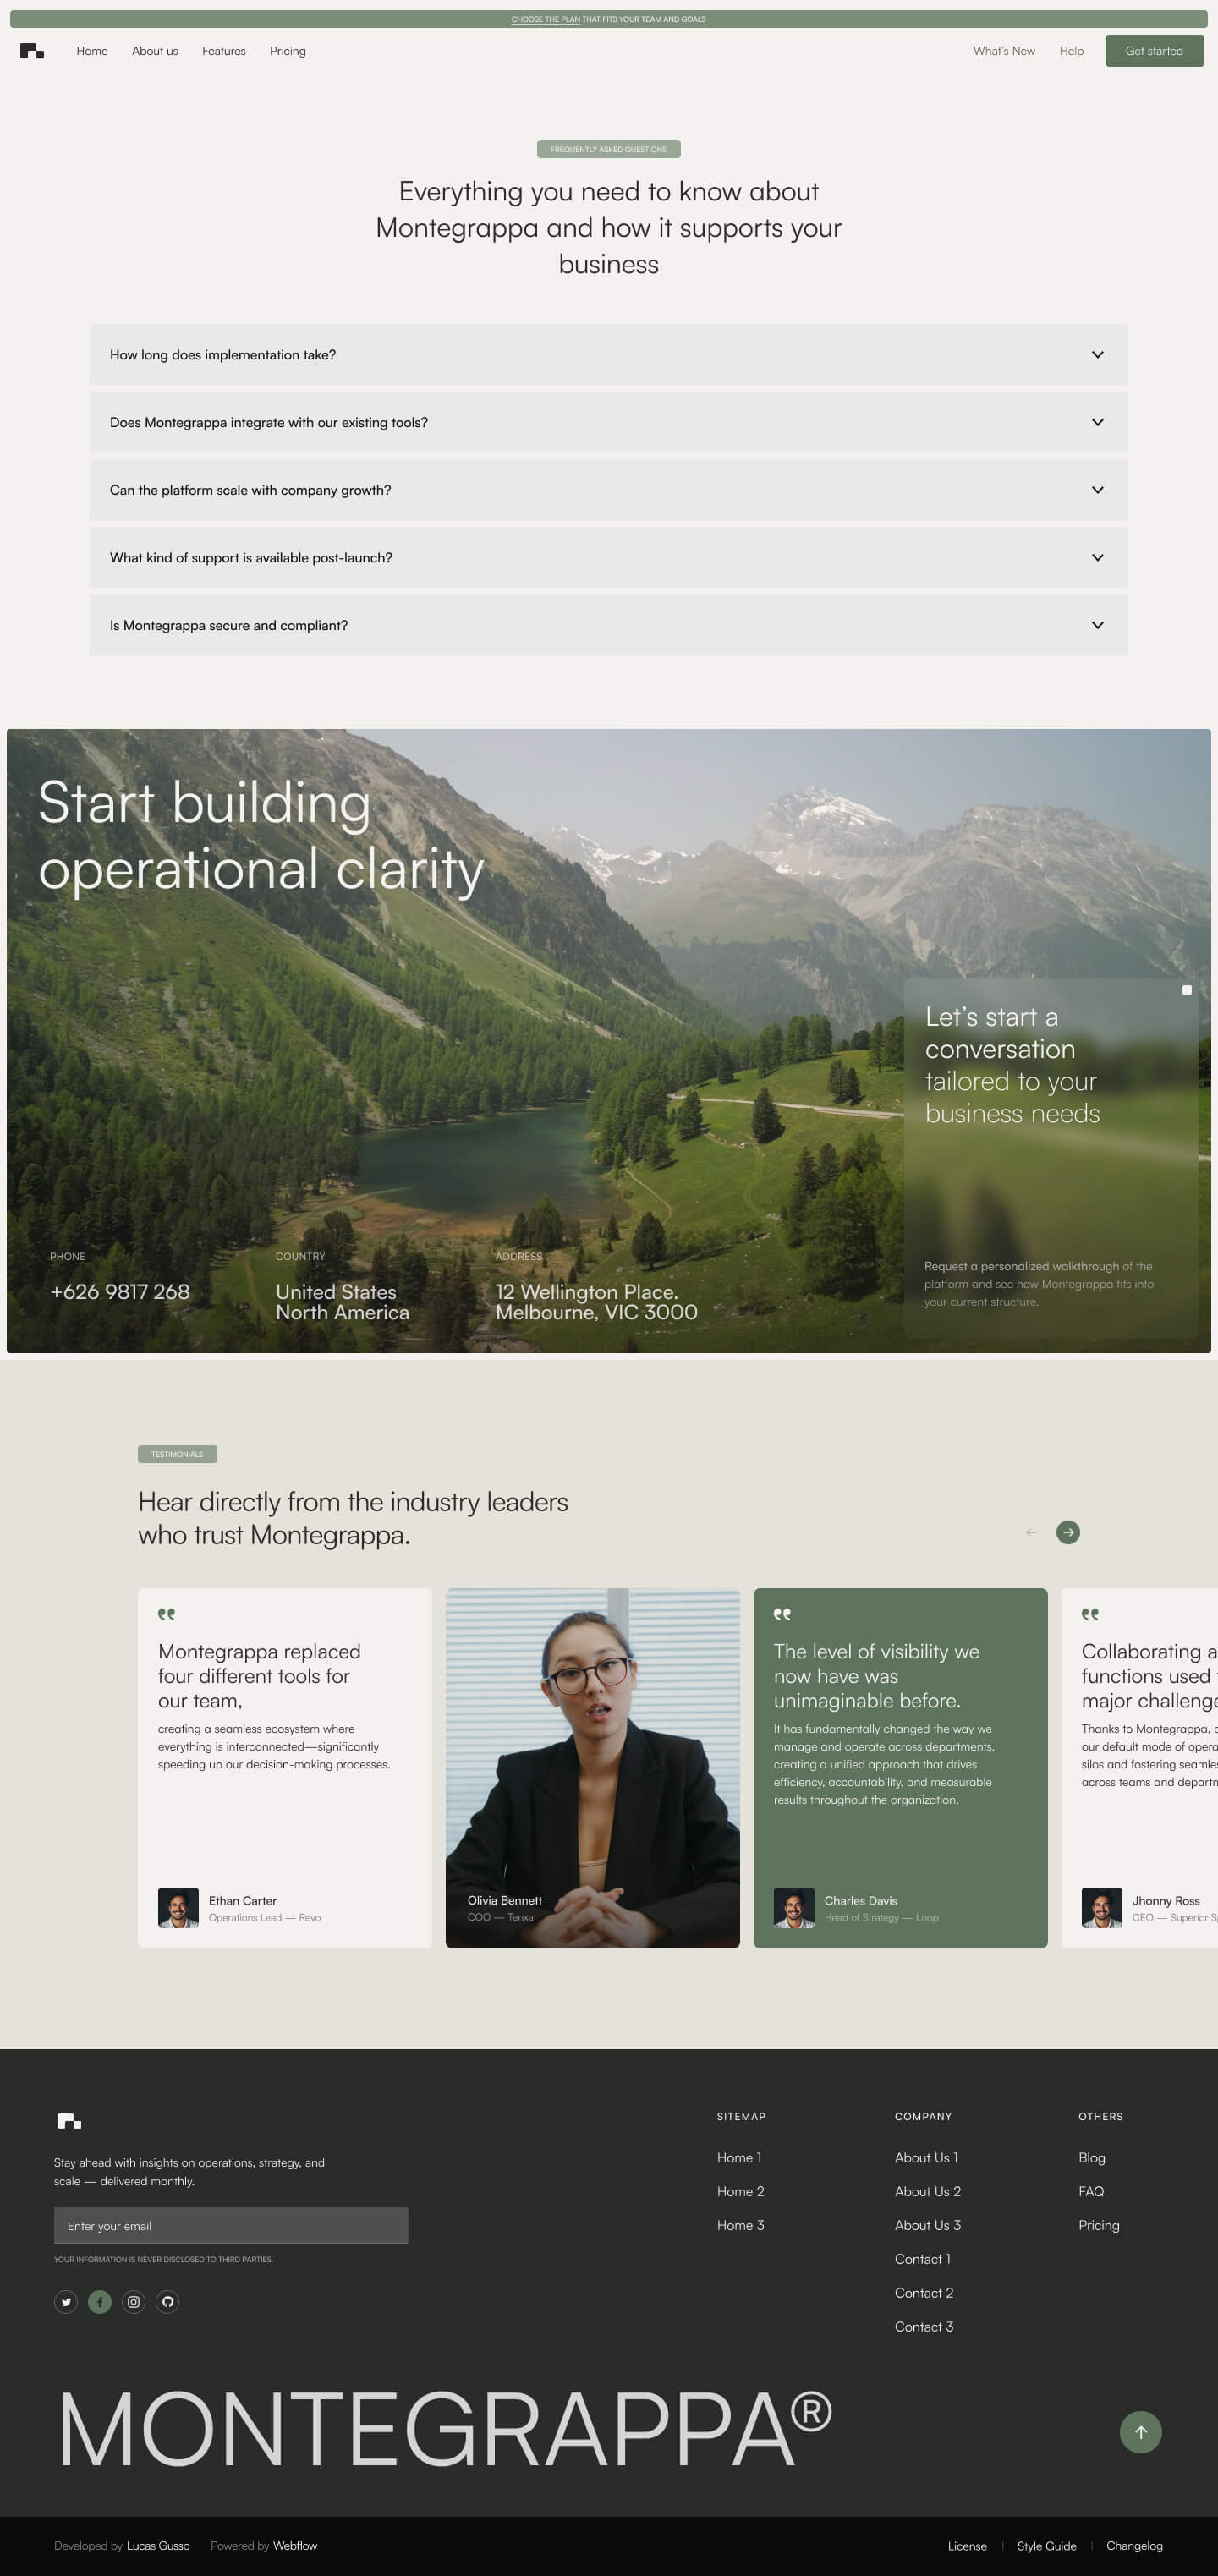
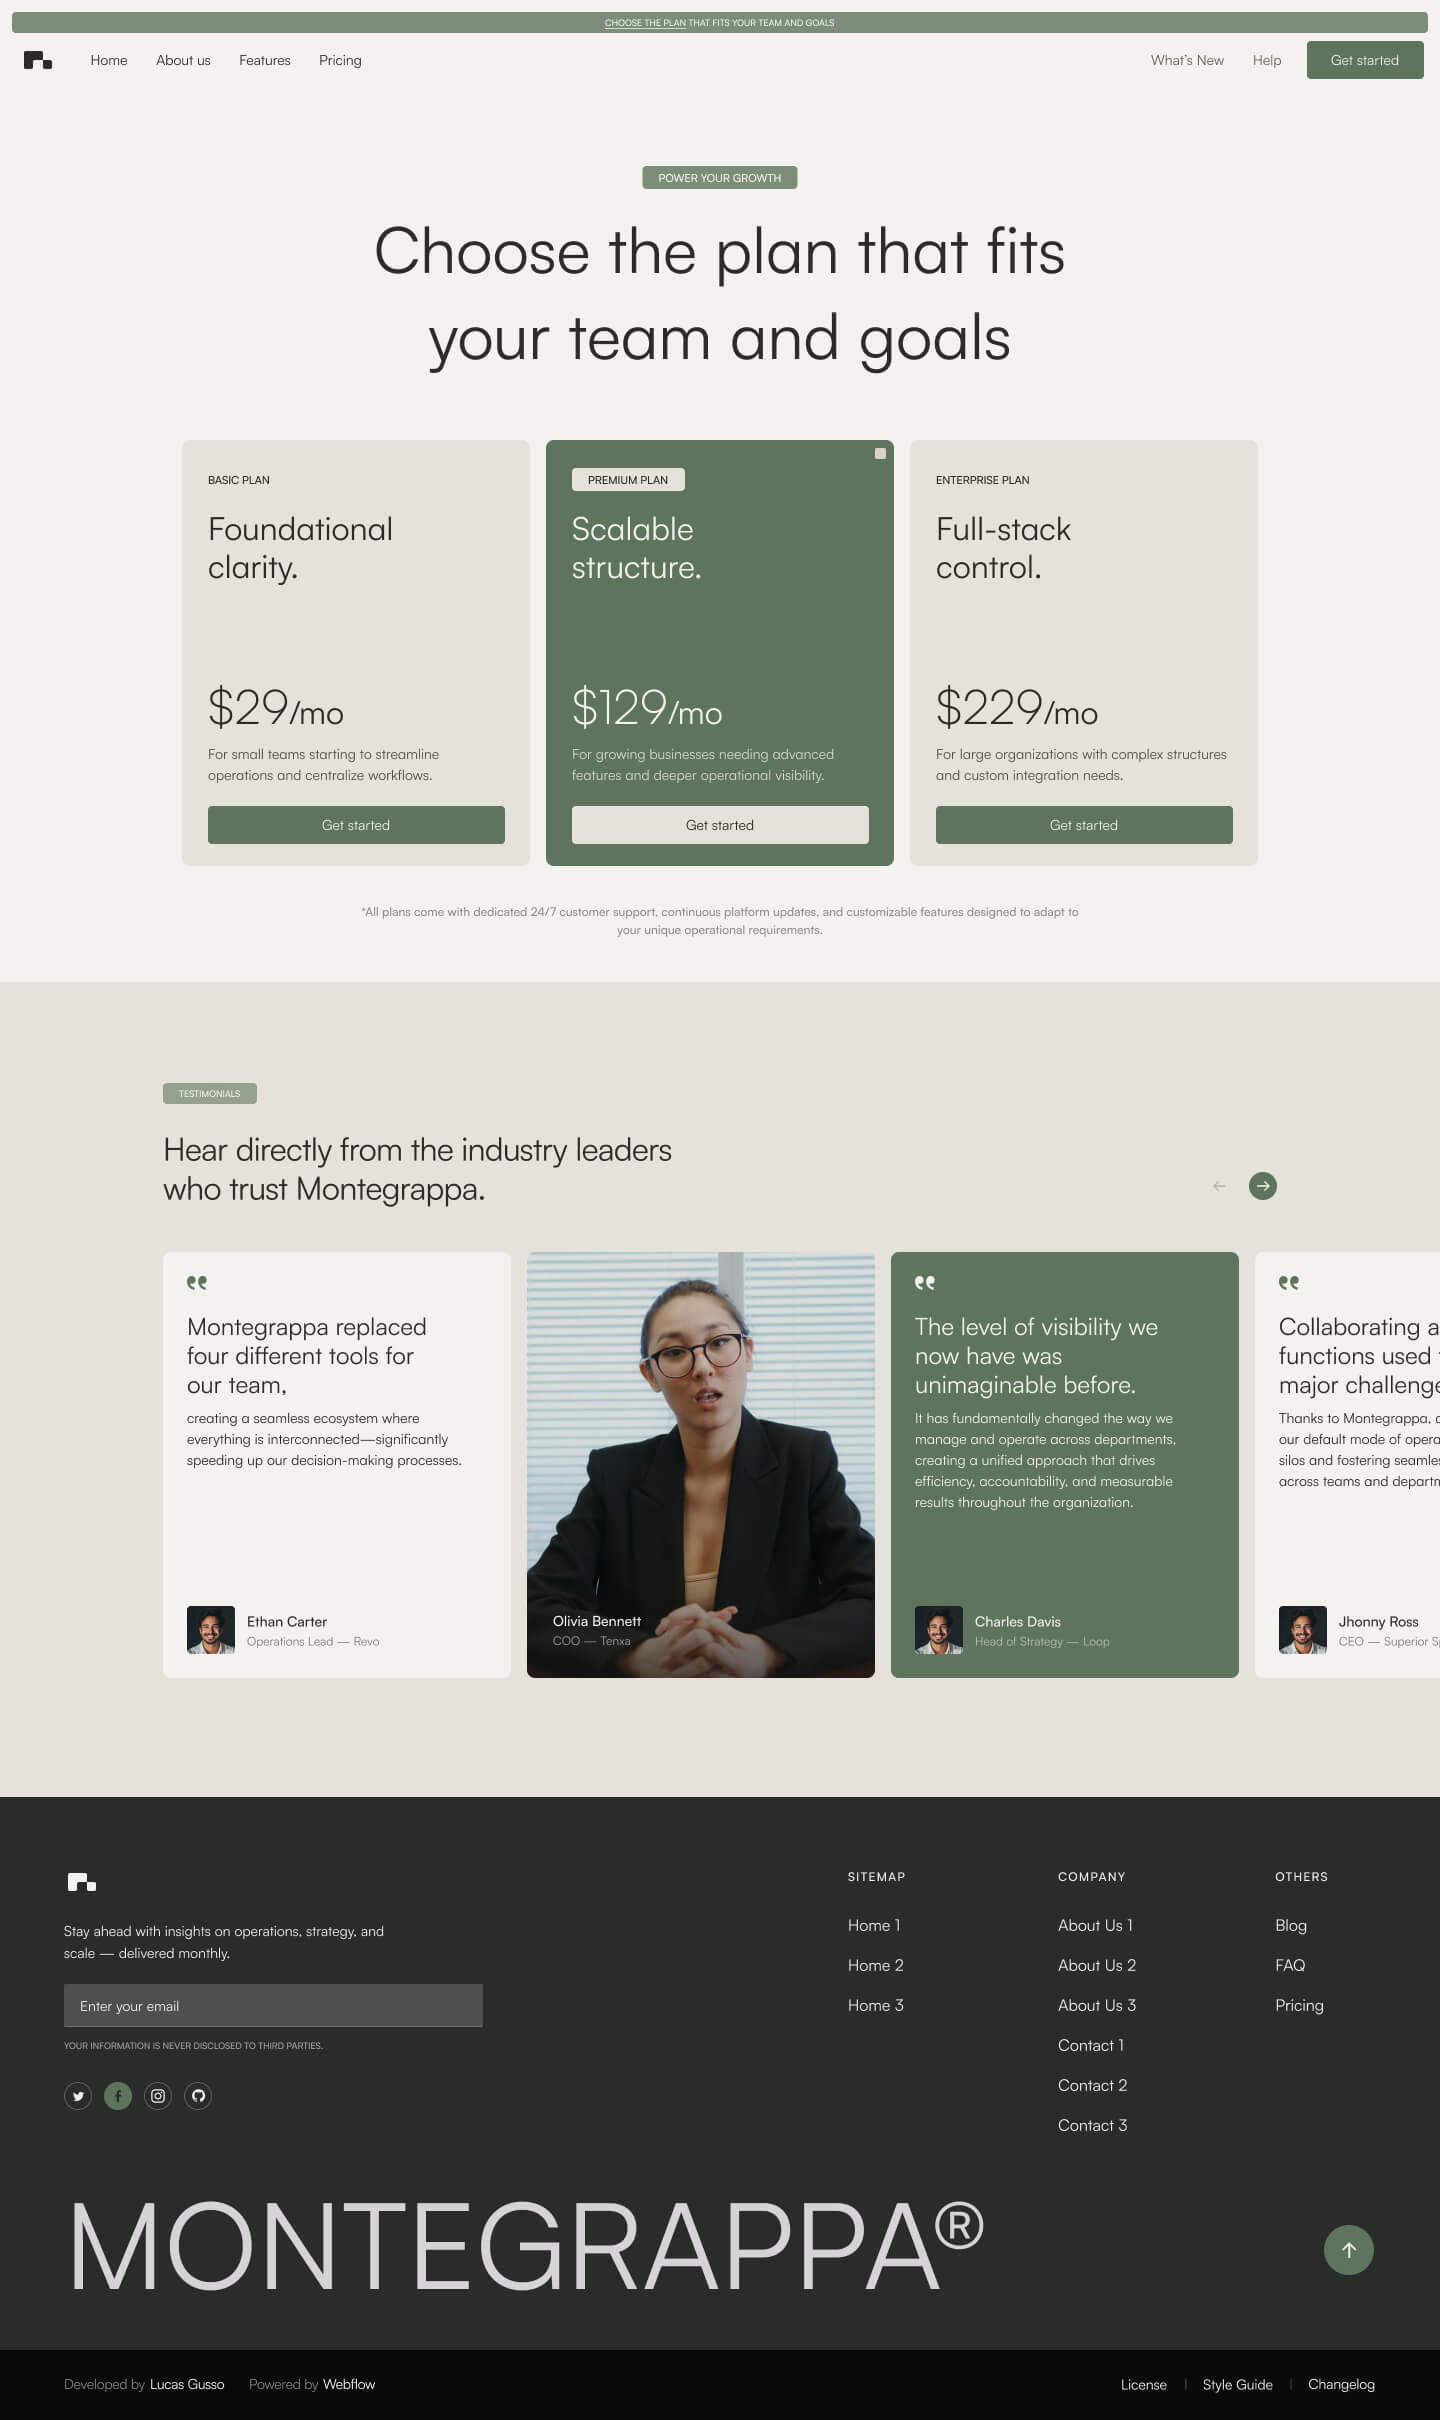
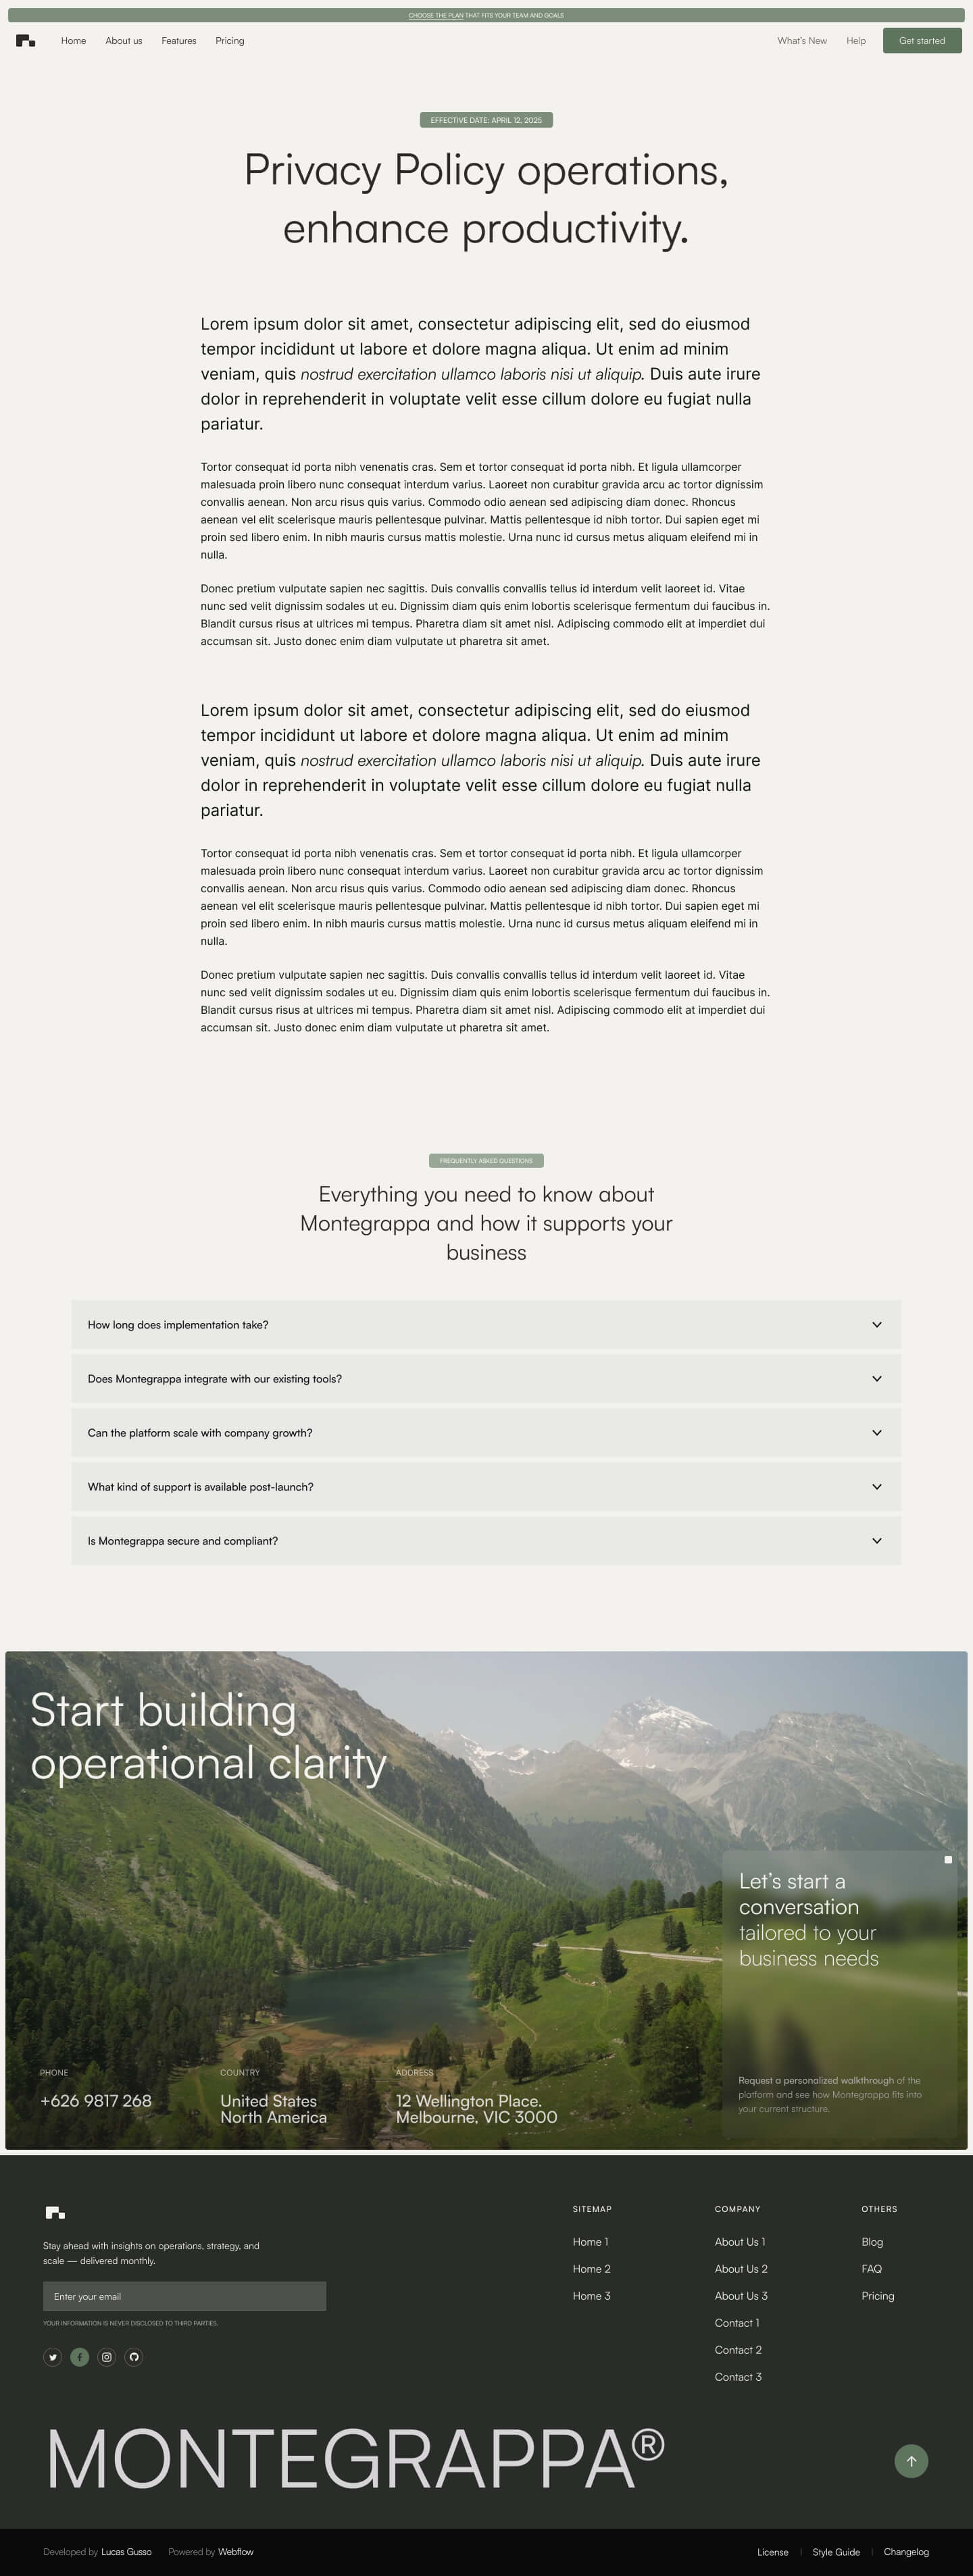
Get a closer look at every layout included in the Montegrappa Template. Each homepage variation is designed for clarity, flexibility, and performance—so you can choose the one that best fits your needs.



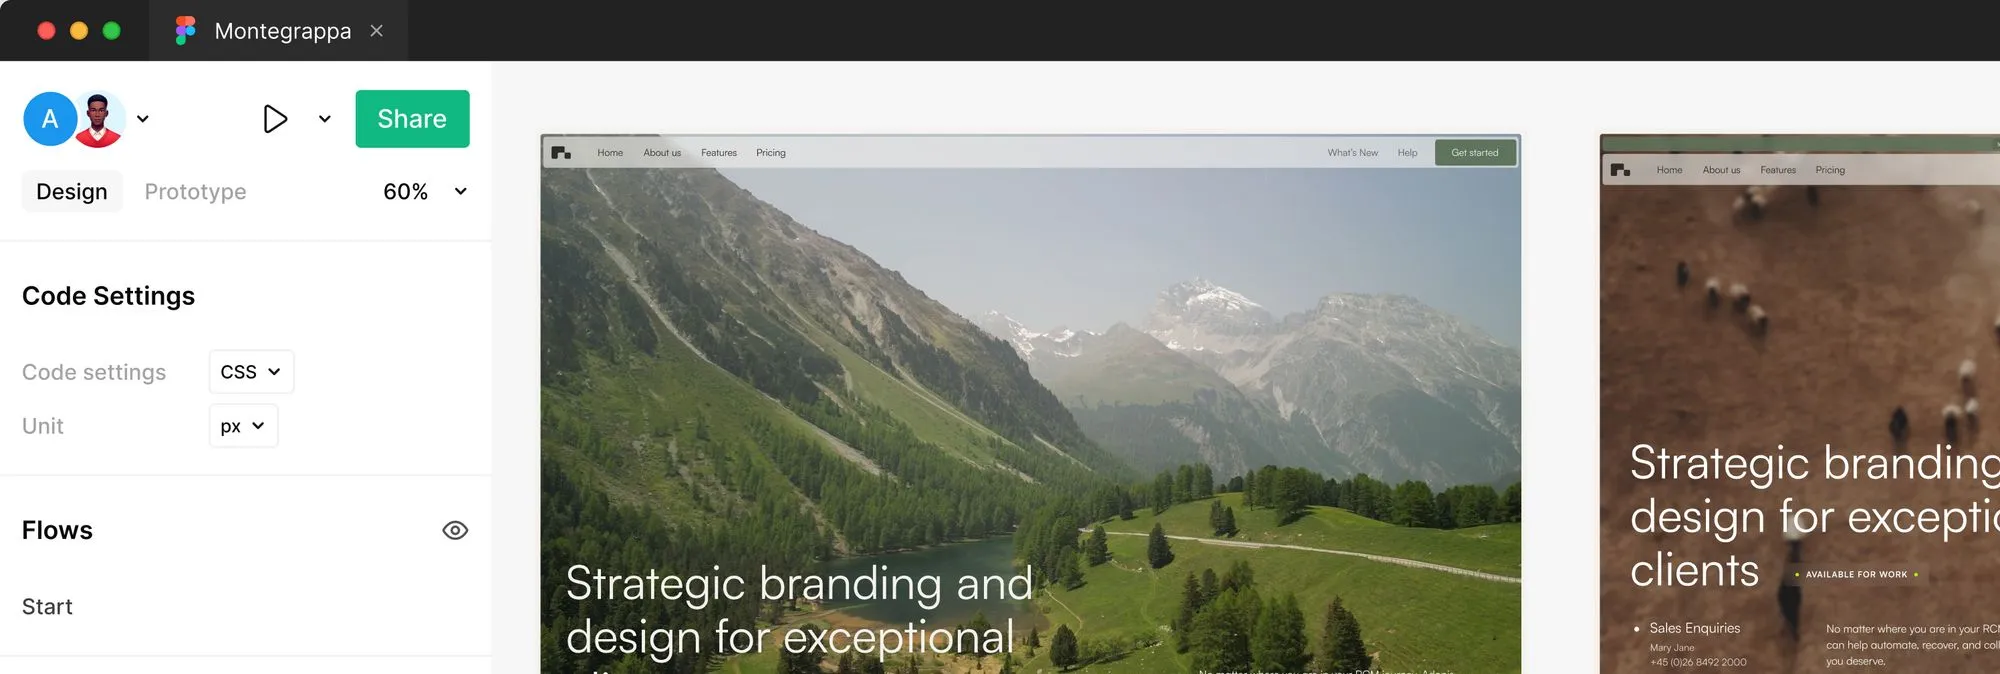
Send us an email to lucas.gusso@gmail.com with your purchase receipt, and we will send you the editable Figma file for the Montegrappa Template.

GSAP Guide
This template uses custom-built GSAP-powered systems to create smooth, responsive, and performant animations in Webflow. You’ll find two core systems powering key interactions: one for Tabs and one for Marquees.
🧩 Using Custom Attributes
To activate the animations and systems in this template, all logic is driven by Custom Attributes directly inside the Webflow Designer — no need to touch the code.
🛠 What are Custom Attributes?
Custom Attributes are key-value pairs you can assign to any HTML element in Webflow. They allow you to add interactivity or behaviors that connect to the code.
🧪 How to Add One
- Select the element in the Webflow Designer.
- Go to the Settings Panel.
- Scroll down to Custom Attributes.
- Click “+ Add Custom Attribute”.
- Add the attribute name and value exactly as described in the guide (e.g.
data-tab-item,data-marquee,data-tab-autoplay="true"). - Publish your site — the code will automatically detect these elements.
💡 Important
- Attribute names must be exactly as written (lowercase, dash-separated).
- These attributes do not change the element visually in Webflow — they act as invisible hooks for animations and interactions.
- You can mix and match multiple attributes on the same element (e.g.
data-marquee+data-marquee-speed).
🔍 Tab System
How it works
The tab system is powered by a custom class called ModernTabSystem. It listens to user interaction or autoplay settings and triggers animations between tab items and their associated images using GSAP.
⚙️ Customization Options
- Add
data-tab-wrapperto the container. - Inside the wrapper:
i. Each clickable tab needsdata-tab-item.
ii. Each corresponding image block requiresdata-tab-image.
iii. Optionally, usedata-tab-progressinside each tab to show animated progress bars. - Enable autoplay:
Adddata-tab-autoplay="true"anddata-tab-duration="5000"(duration in ms) on the wrapper.i. Each clickable tab needsdata-tab-item.
🎯 Features
- Click or autoplay tab switching
- Uses
is-activeandactiveclasses for styling control - Optional progress bar animation
- Smooth opacity, scale and position transitions
🌀 Marquee System
How it works
ModernMarqueeSystem creates a seamless infinite scrolling effect by duplicating the content and animating it using gsap.to() and the ModifiersPlugin for perfect looping.
⚙️ Customization Options
- Wrap your marquee with
data-marquee. - The direct child content must have
data-marquee-content. - Optional attribute:
data-marquee-speed="60"to control animation speed. - Optional attribute:
data-marquee-pause="true"to pause on hover.
🎯 Features
- Responsive speed (mobile, tablet, desktop)
- Uses
modifiersfor pixel-perfect infinite looping - Autopause on hover supported